3: Forms and Events
All apps need to allow the user to perform some sort of interaction with the data that is stored. In our case, the first type of interaction is to insert new tasks. Without it, our To-Do app wouldn’t be very helpful.
One of the main ways in which a user can insert or edit data on a website is through forms. In most cases, it is a good idea to use the <form> tag since it gives semantic meaning to the elements inside it.
3.1: Create Task Form
First, we need to create a simple form component to encapsulate our logic. As you can see we set up the useState React Hook.
Please note the array destructuring [text, setText], where text is the stored value which we want to use, which in this case will be a string; and setText is a function used to update that value.
Create a new file TaskForm.jsx in your ui folder.
imports/ui/TaskForm.jsx
import React, { useState } from 'react';

export const TaskForm = () => {
  const [text, setText] = useState("");

  return (
    <form className="task-form">
      <input
        type="text"
        placeholder="Type to add new tasks"
      />

      <button type="submit">Add Task</button>
    </form>
  );
};
3.2: Update the App component
Then we can simply add this to our App component above your list of tasks:
imports/ui/App.jsx
import React from 'react';
import { useTracker } from 'meteor/react-meteor-data';
import { Task } from './Task';
import { TasksCollection } from '/imports/api/TasksCollection';
import { TaskForm } from './TaskForm';

export const App = () => {
  const tasks = useTracker(() => TasksCollection.find({}).fetch());

  return (
    <div>
      <h1>Welcome to Meteor!</h1>

      <TaskForm/>

      <ul>
        { tasks.map(task => <Task key={ task._id } task={ task }/>) }
      </ul>
    </div>
  );
};
3.3: Update the Stylesheet
You also can style it as you wish. For now, we only need some margin at the top so the form doesn’t seem off the mark. Add the CSS class .task-form, this needs to be the same name in your className attribute in the form component.
client/main.css
.task-form {
  margin-top: 1rem;
}
3.4: Add Submit Handler
Now you can attach a submit handler to your form using the onSubmit event, and also plug your React Hook into the onChange event present in the input element.
As you can see you are using the useState React Hook to store the value of your <input> element. Note that you also need to set your value attribute to the text constant as well, this will allow the input element to stay in sync with our hook.
In more complex applications you might want to implement some
debounceorthrottlelogic if there are many calculations happening between potentially frequent events likeonChange. There are libraries which will help you with this, like Lodash, for instance.
imports/ui/TaskForm.jsx
import React, { useState } from 'react';
import { TasksCollection } from '/imports/api/TasksCollection';

export const TaskForm = () => {
  const [text, setText] = useState("");

  const handleSubmit = e => {
    e.preventDefault();

    if (!text) return;

    TasksCollection.insert({
      text: text.trim(),
      createdAt: new Date()
    });

    setText("");
  };

  return (
    <form className="task-form" onSubmit={handleSubmit}>
      <input
        type="text"
        placeholder="Type to add new tasks"
        value={text}
        onChange={(e) => setText(e.target.value)}
      />

      <button type="submit">Add Task</button>
    </form>
  );
};
Also, insert a date createdAt in your task document so you know when each task was created.
3.5: Show Newest Tasks First
Now you just need to make a change that will make users happy: we need to show the newest tasks first. We can accomplish this quite quickly by sorting our Mongo query.
imports/ui/App.jsx
..

export const App = () => {
  const tasks = useTracker(() => TasksCollection.find({}, { sort: { createdAt: -1 } }).fetch());
  ..
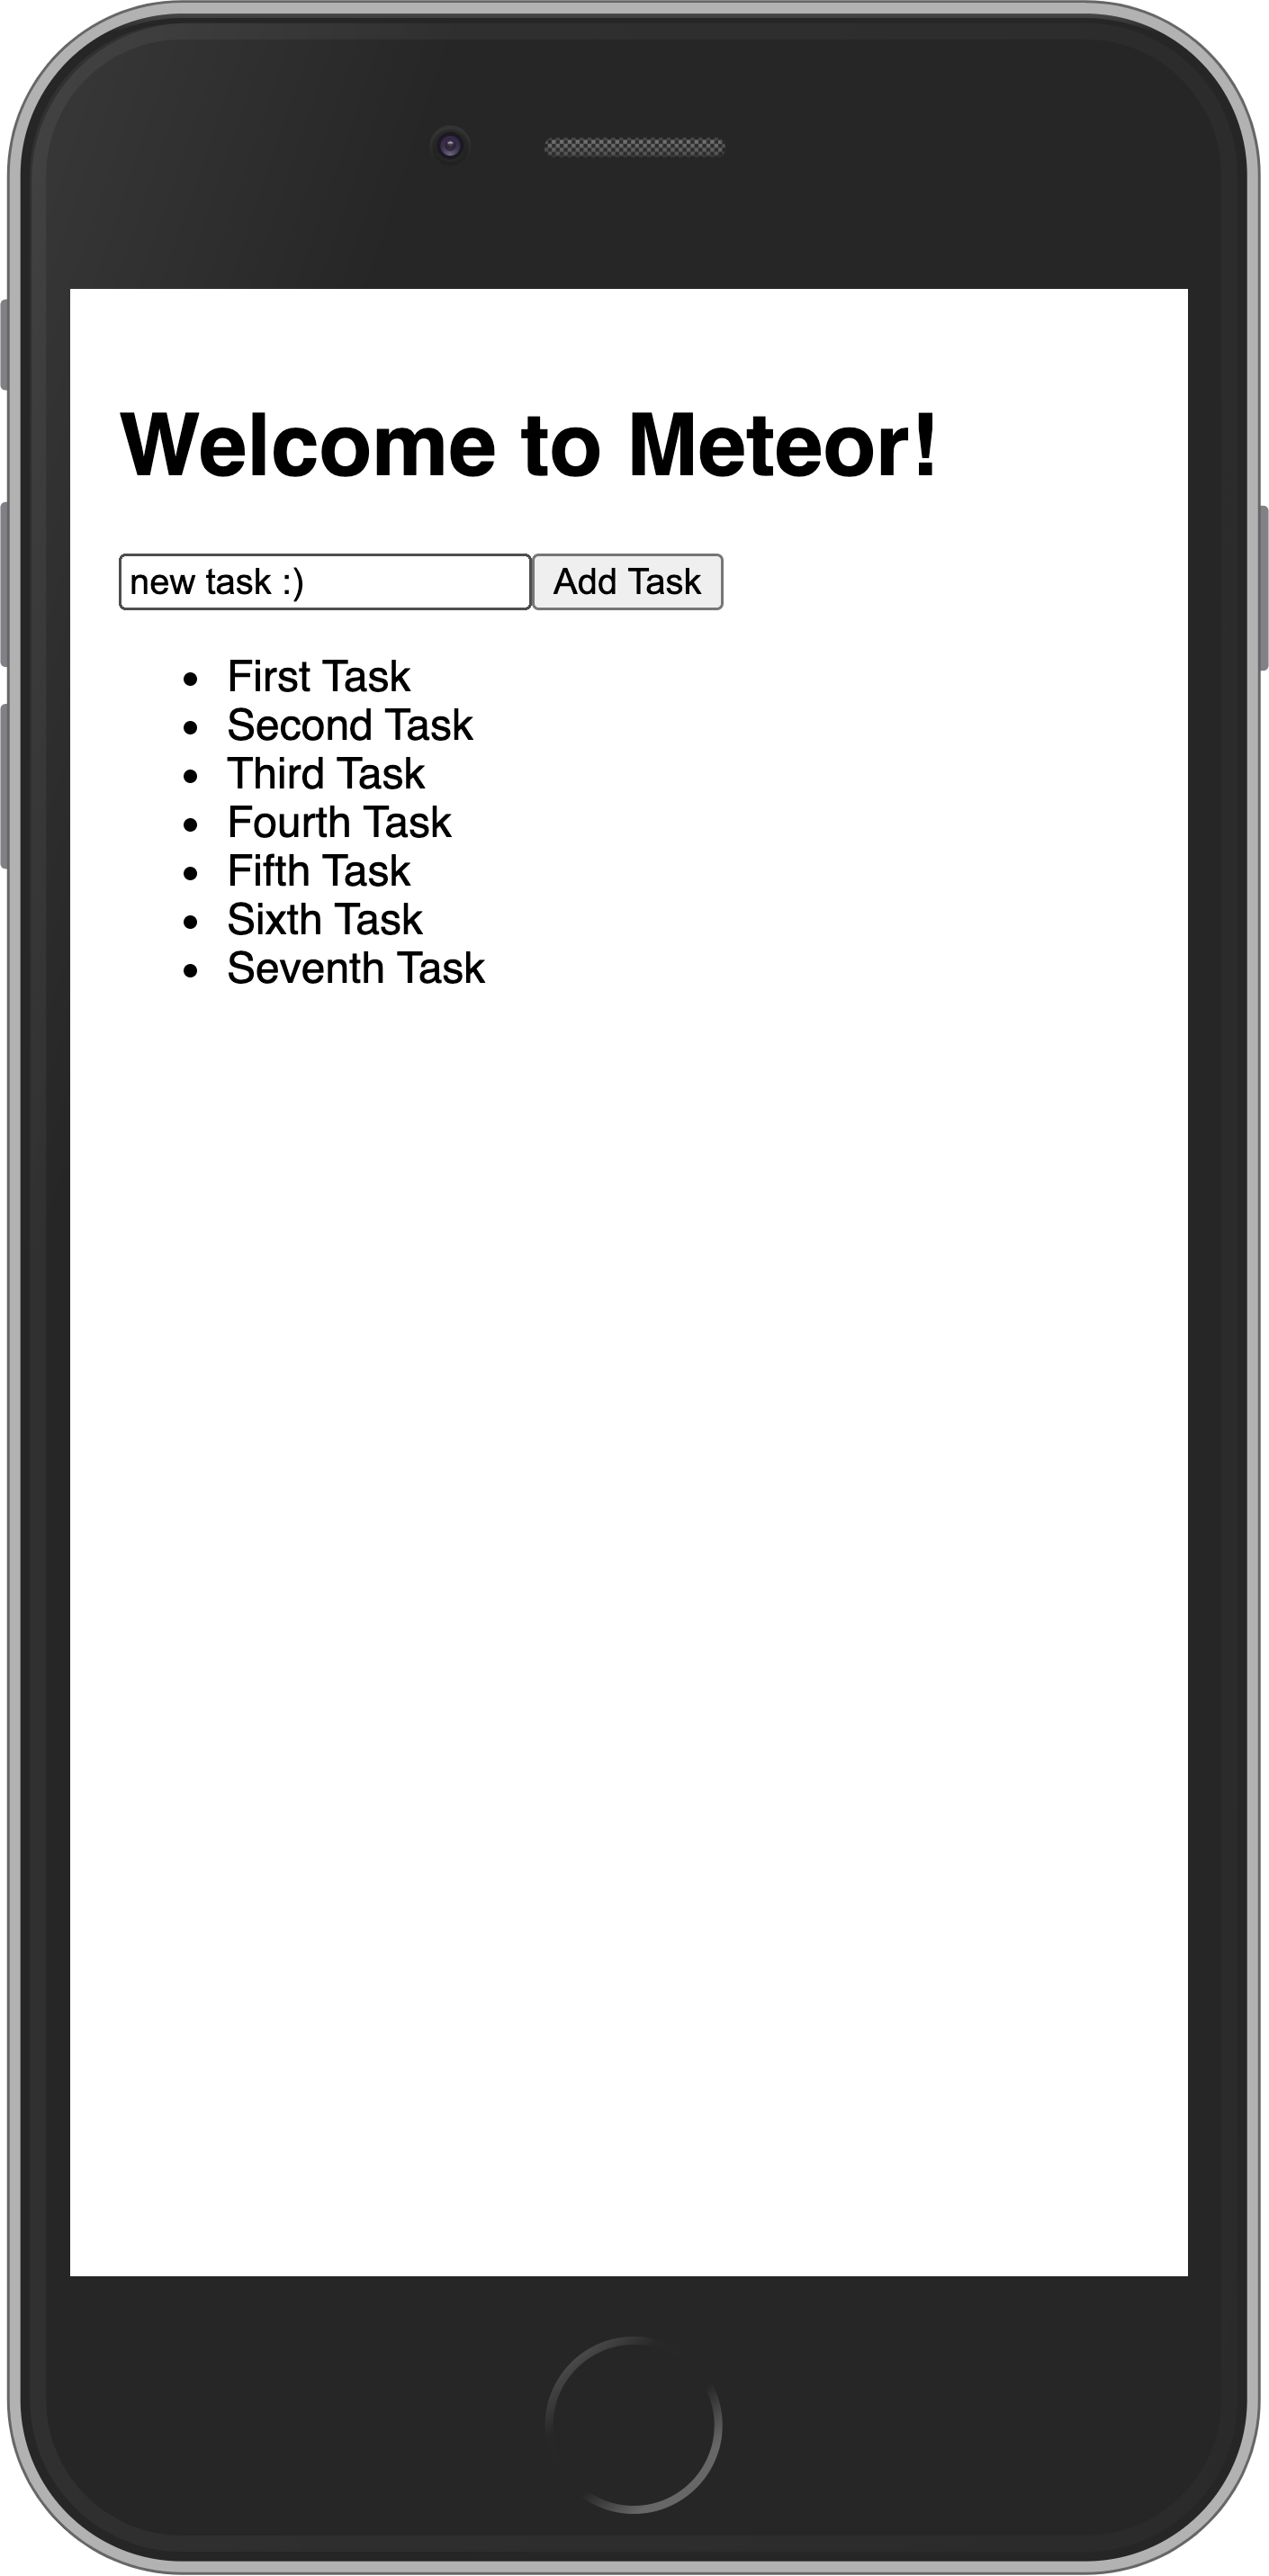
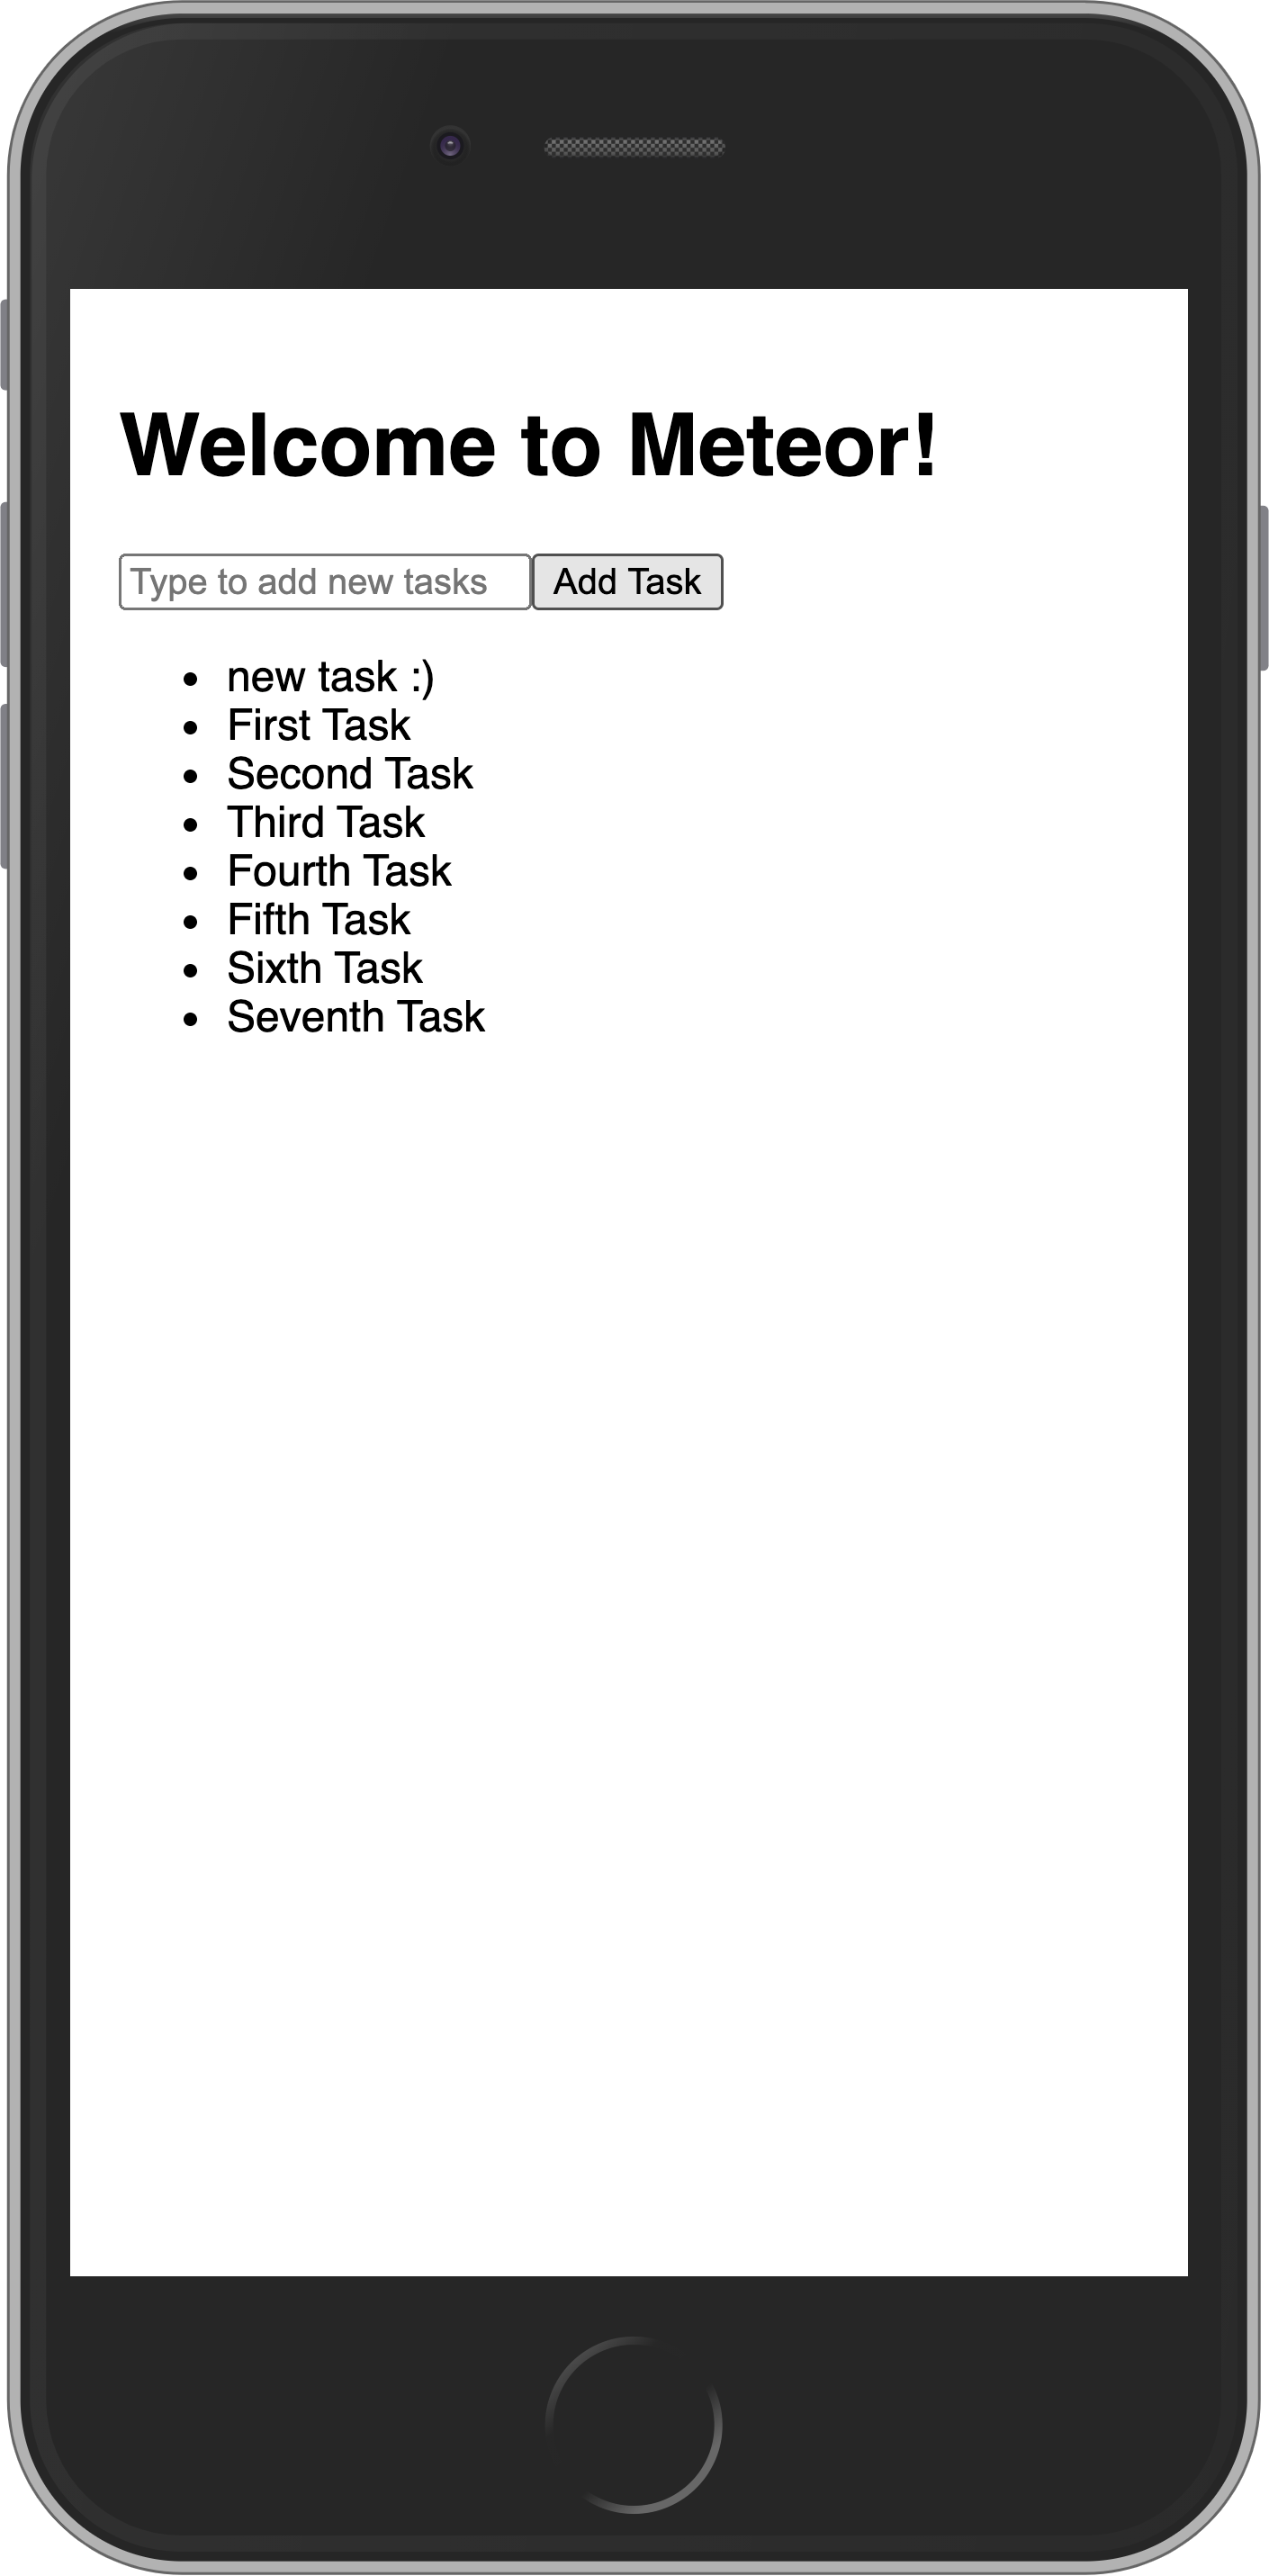
Your app should look like this:


Review: you can check how your code should be at the end of this step here
In the next step, we are going to update your tasks state and provide a way for users to remove tasks.
